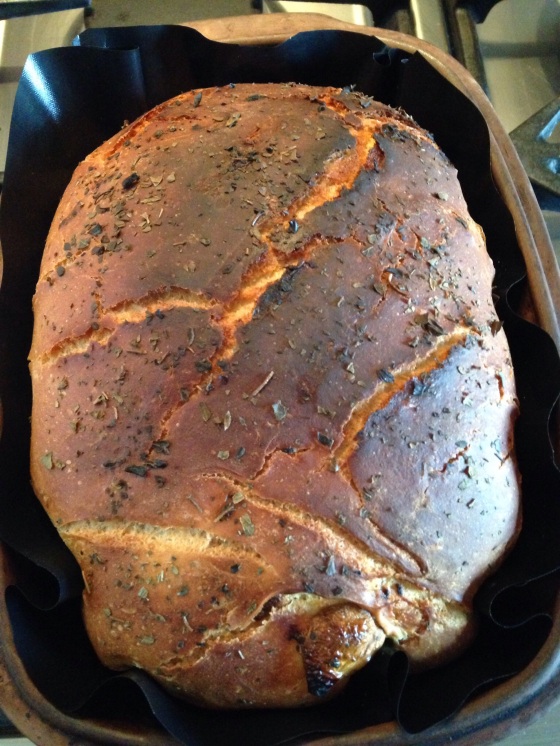
 Let me start by saying that you can also make this bread if you don’t own a clay pot (or römertopf, as we call them over here). It is a great way of baking bread, though. Clay pots are gathering dust in many a cupboard, so I think there’s a good chance you could find a cheap second-hand one online. A cast-iron casserole or Dutch oven would also work, although I think you’d need a fairly small one for a loaf this size. Many thanks to Sue for introducing me to this method. It means my mum’s old clay pot, which was mouldering in my cupboard, gets a regular workout these days.
Now that we’ve got that out of the way, let’s talk garlic bread. The name alone makes me drool. It conjures up an image of a billowy loaf, thoroughly scented with roast garlic. And not just scented; I want chunks of sweet, soft garlic too. As much as I love brioche and other enriched breads, to me this feels more luxurious and indulgent. And it’s a bit easier on the belly as well.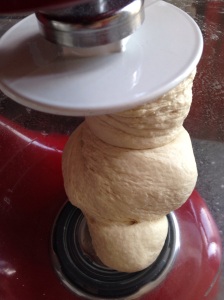
This a variation on Paul Hollywood’s recipe for garlic bread. I’ve adjusted quantities to make one smaller loaf , where he makes two flat garlic breads, and I use the clay pot to bake it in instead of baking them free-form, as he does.
This loaf is quite easy to make. The only fiddly bit is peeling all the cloves of garlic before you roast them. I have made garlic bread using a head of garlic roasted whole (like the garlic I use in my roast garlic and leek risotto). There’s no denying that this is easier, as there is no peeling involved, but your loaf won’t have those gorgeous bits of softened, sweet garlic in it. I firmly believe the extra work pays off.
Do watch your garlic cloves as they roast. The difference between lovely soft, sweet garlic and horrible leathery cloves is a few minutes. I roast them for 15 minutes and then watch them like a hawk. You want slightly browned garlic that is soft to the touch, no scorching.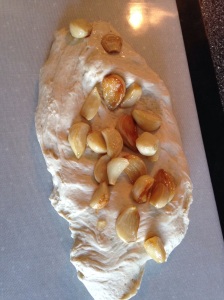
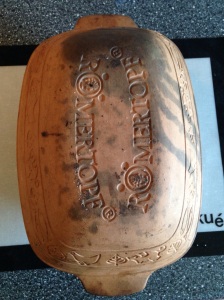
To give you an idea of the dimensions of the clay pot I bake this in: it measures 24 x 18 cm (at the top, lid off) and is 8 cm deep. I line it with a sheet of reusable Teflon baking parchment that I cut to fit the pot. Nothing scientific; when I baked bread in the clay oven for the first time I laid the sheet on top of the open pot, put in the dough and cut off any bits that stuck out above the rim.
Before I forget, if you want to make this loaf without a clay pot you can use this method with the quantities mentioned below.
INGREDIENTS
For the roast garlic
3 medium bulbs of garlic
1 tbsp olive oil
1 tsp caster sugar
generous pinch of salt
For the dough
400 g all-purpose flour
1 tsp salt
7 g sachet of fast-acting yeast
2 tbsp extra virgin olive oil
260-280 ml tepid water
For over the top
olive oil
heaped tsp dried oregano
– Preheat the oven to 200°C.
– Peel the garlic cloves, put them in a small roasting tin. Sprinkle over oil, sugar and salt and mix well, using your hands.
– Roast for 20 minutes (but keep an eye on them, see above).
– Leave to cool and crack open the door of the hot oven. It needs to be cool when you put the clay pot in.
I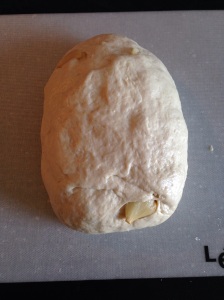 use a standing mixer to knead bread. If you don’t have one, put the flour, salt and yeast in a large bowl, making sure the salt and yeast don’t touch at that point. Make a well in the centre of the flour, pour in the water and gradually incorporate it. Then knead for about ten minutes on a flat, lightly floured surface or until smooth and elastic.
– Put the flour in the bowl of the mixer.
– Put salt and yeast on either side of the bowl.
– Attach the flat paddle to the mixer and briefly mix flour, salt and yeast.
– Add the oil, then gradually pour in the water while mixing until you have a sticky, shaggy dough and there is no flour left at the bottom of the bowl.
– Turn the mixer off, then replace the paddle with the dough hook and knead the dough for six minutes, or until elastic and no longer sticky.
– Shape into a ball, put it back into the bowl and cover with cling film (my glass Kitchenaid bowl has a lid, which is perfect for proofing dough). Leave for an hour at room temperature, or until doubled in size.
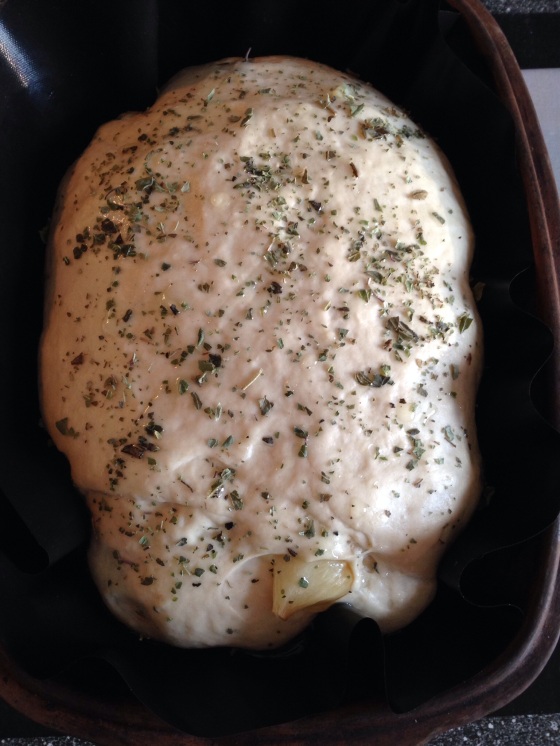
– Knead the roasted garlic cloves into the risen dough. Shape into a rectangular ball, if there is such a thing.
– Line your clay pot, put in the dough and clamp on the lid.
– Rest for 45 minutes at room temperature.
– Place the clay pot in the cold oven and set temperature to 250°C.
– Bake for 50 minutes, take the lid off (being careful not to burn yourself) and bake for another five minutes. Keep an eye on it, though; if it gets too dark, take it out of the oven.
– Turn the bread out of the pot and let it cool on a wire rack.

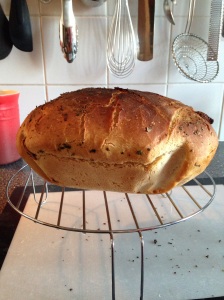
Ziet er vurrukkulluk uit. How nice that you use the old romertopf.
LikeLiked by 1 person
I haven’t made this one but I’ve made Dan Lepard’s garlic bread with whole cloves of roasted garlic and it was sublime too. I’m with you on it being a decadent treat of a loaf more so than brioche. I feel naughty for having it but I love it (and so does Hungry Hubby) however it comes 🙂
LikeLiked by 1 person
Topfs rule!! Try roasting the gArlic unpeeled after which the skins are easy to rub off.
LikeLiked by 1 person
my unglazed clay baker is not suppose to go past 450F or go into a hot oven. So glad to see a recipe that has the bread going into a cool oven. I hope it still works at 450F
LikeLike
I suppose a Dutch oven/casserole would also work if you’re unsure about the clay baker, Dede. My clay pot hasn’t cracked so far.
LikeLike
I tried the clay baker in a preheated oven and a cold oven and both methods worked! Thanks for your response.
LikeLiked by 1 person
I have always made my sourdough bread using a proofing basket then plopping the bread into a 500F oven into a Large super hot pot slashing the top with a razor. (This sometimes caused it to deflate a bit) I just found a recipe that skips the proofing basket, and placing the dough right into a loaf pan to rise. No slashing, no plopping just let it rise for a good 5 to 6 hours and bake in a preheated oven at 400F for 30 minutes. I used my clay baker too. The bread is fluffy, nice crumb, crust and is amazing toasted. Just wanted to share. Love my sourdough bread.
LikeLiked by 1 person